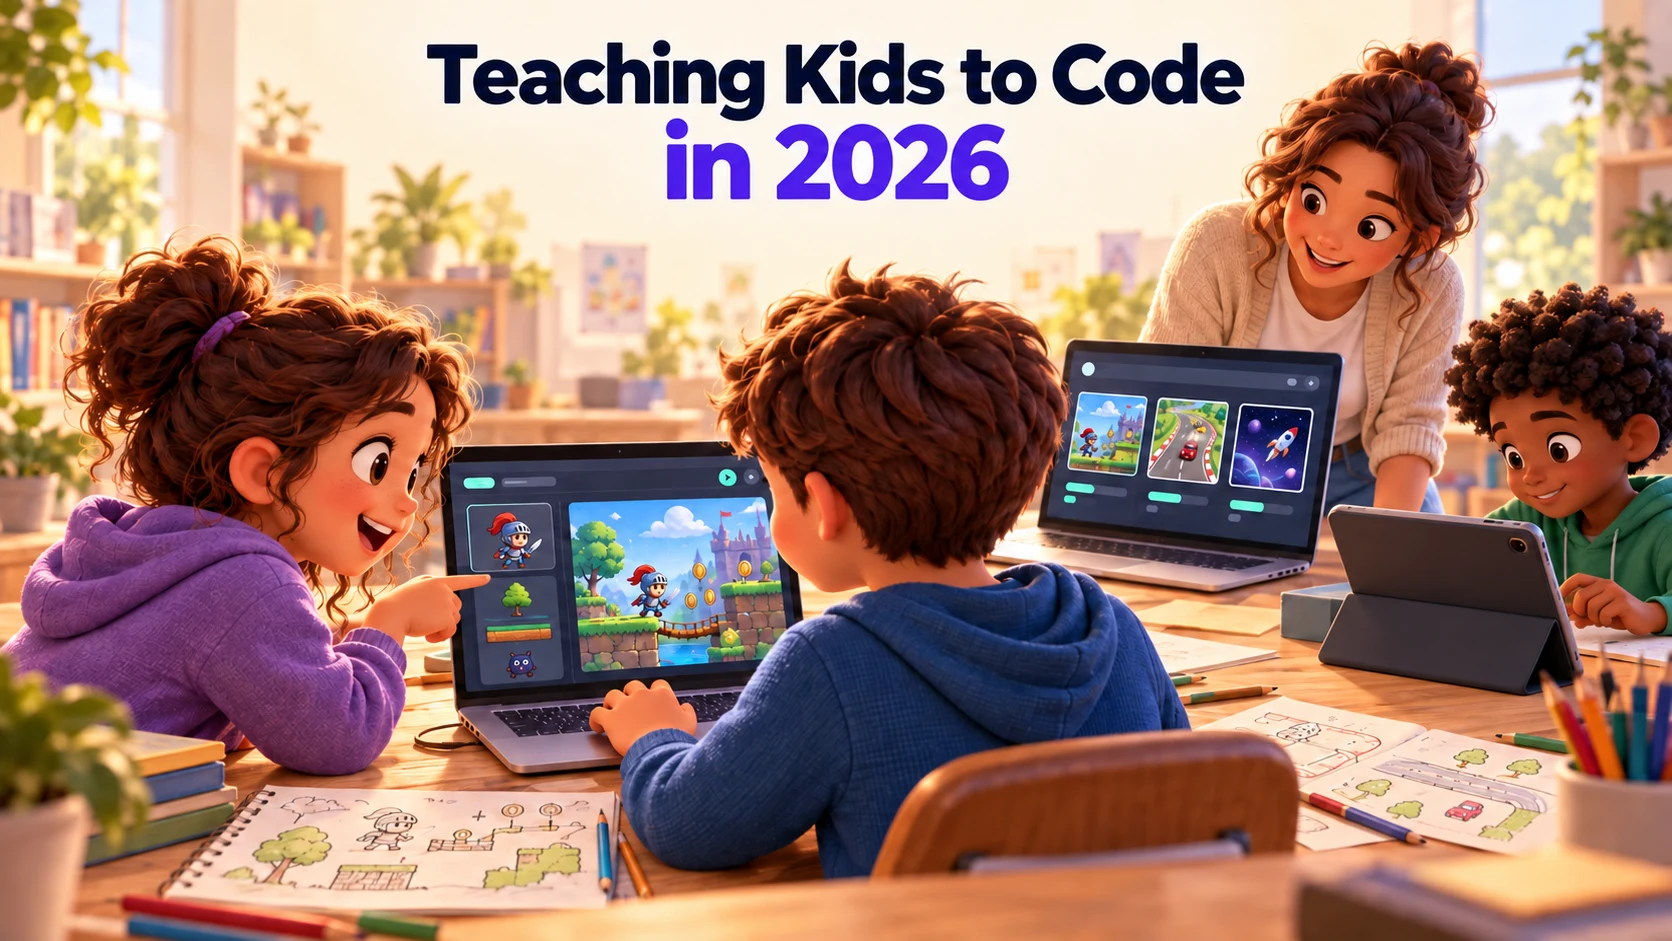
Start with a game they want to make. Give them the tools to build it, a reason to improve it, and classmates to play it with.
Makerplay is designed for teachers with no technical background—even if you’ve never written a line of code. Running a session is simple: open your teacher link, share the class code, and follow the ready-to-use activity guide. Everything runs in the browser, with no software to install or student passwords to manage. You lead the lesson; Makerplay handles the code.
Ask a class to make a game their friends will want to play, and there is plenty to figure out. Someone needs to decide how the player moves, what makes the game challenging, and what happens when you win. Then someone has to try it and discover whether any of those decisions were good ones.
That is a wonderful starting point for teaching children to create with technology. They already have opinions about games. Now they get to do something with them.
We built Makerplay for classrooms to make that activity easy to run: students join with a class code, design their own games on a visual Board, and play and improve what they make. The teacher has a live view of the class’s projects, with access to their Boards and games. No student email addresses or passwords to organize, and no coding experience needed to lead the session.
What teaching coding can look like now
When I think about what I want my son to learn from technology, writing code is part of a larger ambition. I want him to be able to take an idea, work out how it should function, and build something he understands well enough to improve.
In 2026, AI gives us another way into that process. Children can describe behavior in ordinary language and see it implemented. That makes it possible to begin with decisions about the software itself, while the tool handles the programming language.
There is still plenty of work for the child. A racing game needs more direction than “make it awesome.” Can the car leave the road? What slows it down? How does the player know which way to go? Those are decisions a student can explain, test, and revise.
Makerplay focuses on that layer of creation. Students use written instructions and game cards; they are not writing JavaScript or assembling loops themselves. If your lesson specifically concerns programming syntax, you will want to teach that directly. This activity gives students an accessible way to start designing working software—and a concrete experience to draw on when you introduce the code underneath.
A game idea becomes something they can change
The Game Board is the heart of Makerplay. We developed it to make a game’s design visible: characters, objects, controls, and rules become cards with instructions the student can read and change. Our AI coach helps them clarify their ideas, and the builder turns those instructions into the game.
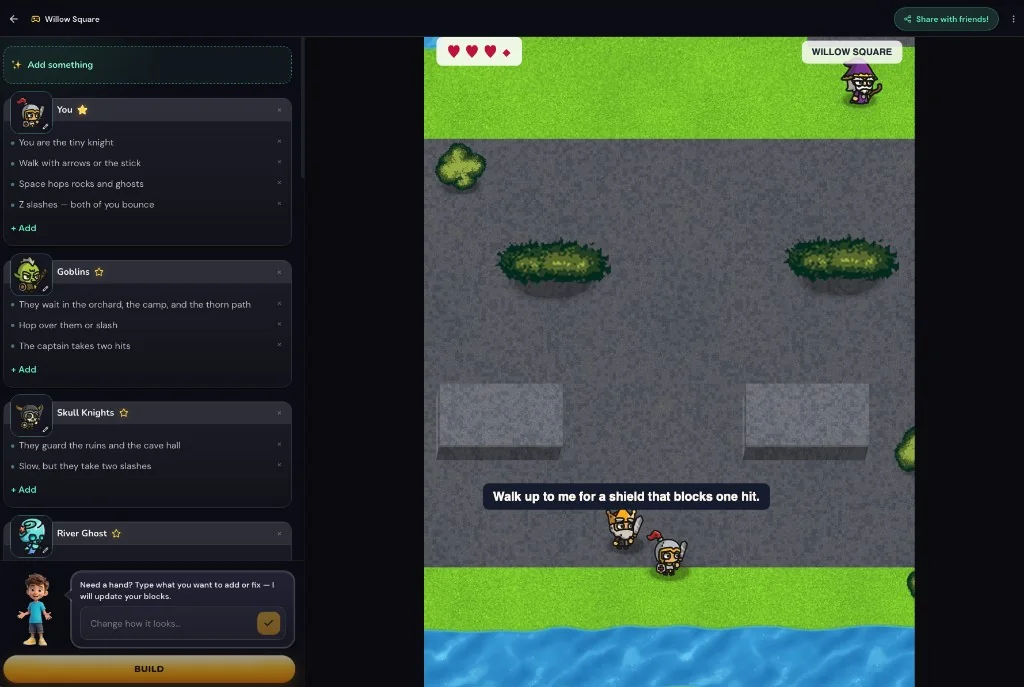
For a classroom challenge, a student might decide the goblins should give the player more time to escape. Another might add a reason to explore the orchard. They can change the relevant card, build another version, and try it. The interesting question is whether the change makes the game better.
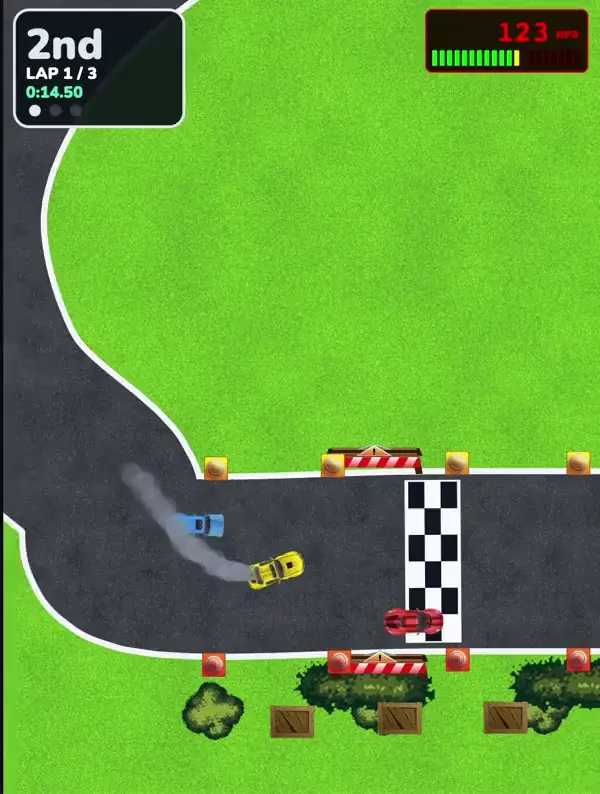
A racing game opens up different choices. A tight corner might be satisfying once you learn it, or so unforgiving that nobody reaches the second lap. Adding more opponents might make a race exciting, or simply crowded. Playing is how the designer finds out.
You can see what the whole class is making
A room full of students making different games sounds fun. It also gives the teacher an obvious practical problem: how do you keep up?
The private teacher view brings the class together in one place. You can see who has joined, their projects, build status, and how many versions they have made. Open a project’s Board to read its design, or play the game yourself. The class view refreshes automatically, and an open Board updates as the student’s saved design changes.
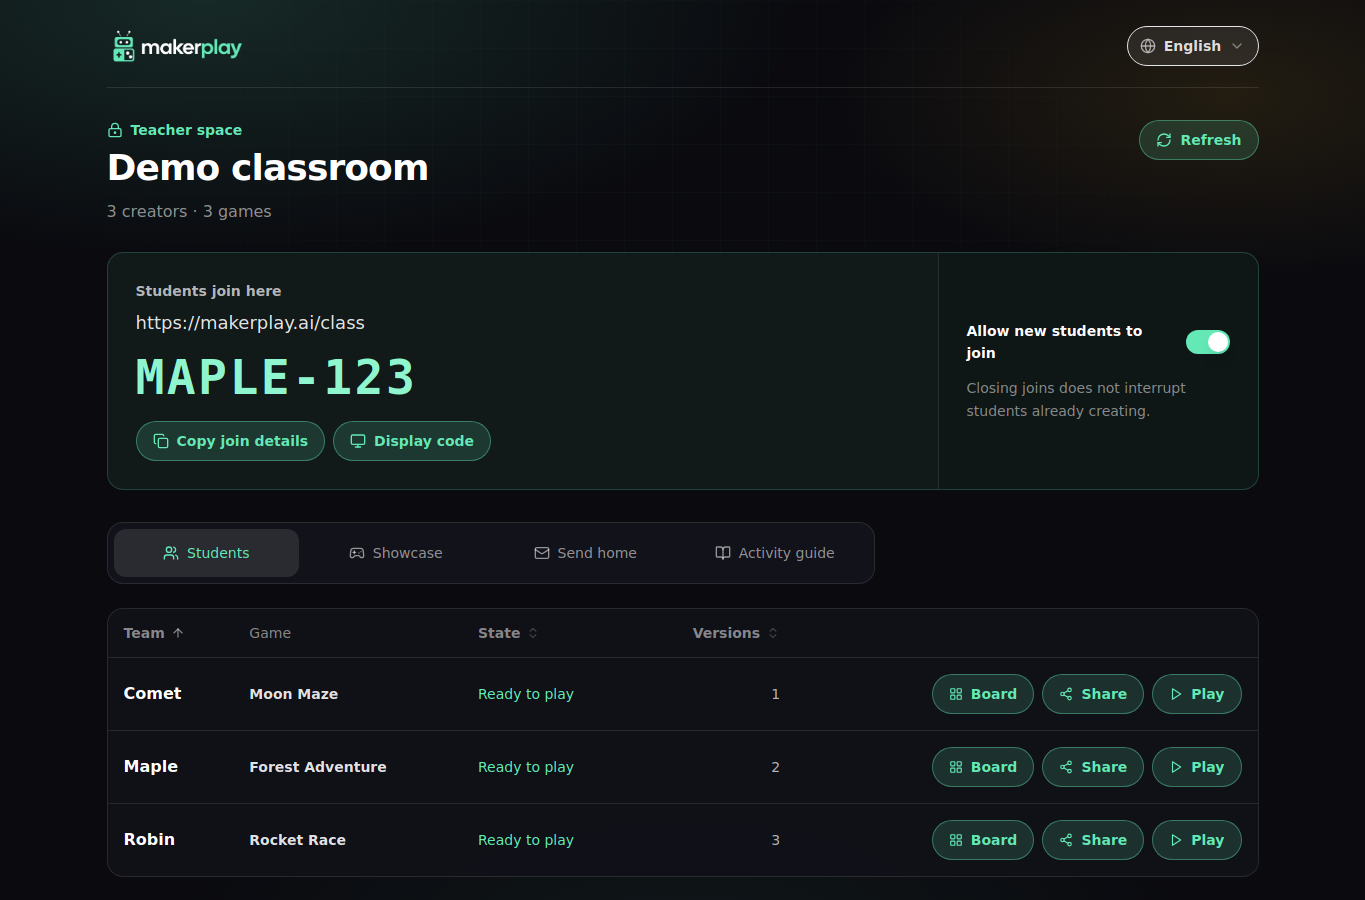
You can also display the class code for everyone to join, choose games from the Showcase to play together, and use the Send home tab to prepare game links for families. The activity guide is right there when you need it.
Try a 45-minute classroom game jam
Give the class one brief: make a game a classmate will want to play twice. It leaves room for a maze, a race, an adventure, or something delightfully strange, while giving everyone a real player to think about.
Students can work individually or in pairs, with a computer, Chromebook, or iPad for each student or pair. A suggested first session looks like this:
Five minutes to join and choose an idea. Display the class code. Students enter it with a first name or nickname and start creating. Encourage a small first idea: one goal and one interesting obstacle are enough.
Thirty minutes to make, play, and improve. Have students try their game early. In pairs, one can play while the other watches, then swap. Ask each creator to pick one thing to improve and test whether their change helped.
Ten minutes for a class showcase. Play a few games together. Invite their creators to explain a decision, something that surprised them, or a change they made after watching someone play.
You can keep the challenge open or connect it to something the class is exploring. A space adventure could grow out of a science topic; a maze could use the setting of a story. Let the theme offer possibilities without specifying every detail of the game.
The teacher’s most useful prompts are simple: “What did you want to happen?” “What happened when you played?” “What could you change?” You can help a student reason through those questions without knowing how to implement their answer in code.
Before the session, try the join-and-build flow on your school’s devices and network. Our teacher guide walks through preparation and the activity.
The learning is in the decisions
Our approach follows a simple cycle: Imagine → Describe → Build → Play → Judge → Improve. Students get repeated practice turning an intention into instructions, checking a result, and choosing their next step.
In a classroom, you can make that thinking visible without interrupting the fun. Ask a student to show the card they changed and explain its effect. Ask a pair where they disagreed and how they tested their ideas. Have a classmate try the game without the creator explaining every move, then discuss what was confusing.
Those moments give you far more to work with than a finished screenshot. They show whether a student can explain their design, notice a problem, and use feedback. We describe the reasoning behind this approach in What Kids Learn When They Make Their Own Games.
They also give the game an audience. A classmate discovers a shortcut, struggles with a jump, or asks for another turn. Suddenly there is a very good reason to make the next version.
Bring it to your class
Your private teacher link gives you the classroom view and a class code to share. Students join in their browser, and their classroom games stay out of the public Arcade by default. You can send families play links so students can show what they made at home.
For children who want to keep creating, a parent or guardian can help them open a home account to recreate their idea or make new games.
Request classroom access to get started. Once you have access, follow the ready-to-use guide, share your class code, and run the session at your own pace. No technical skills or coding experience required.